Free Carrots #2: TLS boot over WiFi
Free Carrots is an ongoing series of helpful tips for using Plan 9.
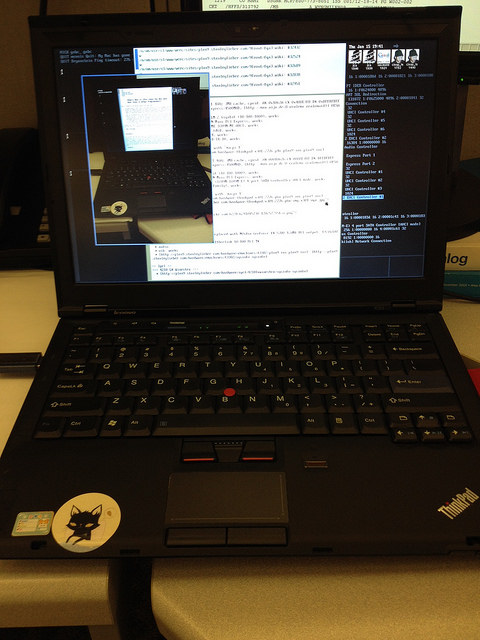
Picture it: My desk, some years ago.
I didn’t really feel comfortable leaving my data lying around where it might be confiscated, but at the same time I wanted to 9front while I was supposed to be working. Fortunately I had remembered to bring my bootable USB stick, and some helpful soul had plugged a WiFi router into the U-Verse in the break room.
Back then 9front didn’t have TLS booting over WiFi, but it does now. The following explains how to set it up, obviating the need for all the crazy-ISO-tricks I used to pull, back in the day.
First, configure your file server to listen for network connections. This will cause the machine to listen on port 564 (by default, the system is already running a TLS listener that bounces incoming TLS connections to port 564).
Next, your client (the machine that is TLS booting over WiFi) needs only a few alterations to its plan9.ini:
   bootargs=tls
   ether0=type=YOUR_WIFI_DRIVER_HERE essid=YOUR_WIFI_AP_HERE
   wpapsk=YOUR_WIFI_PASSWORD_HERE
   auth=8.8.8.8
   fs=8.8.8.8
Note: Your auth and fs machines are not really Google DNS servers.
The boot scripts will attempt to authenticate to the WiFi access point specified, and then obtain an IP address via DHCP. The auth and fs servers listed will be used to access the remote environment.
To bypass DHCP, arguments to ipconfig(8) may be entered on the bootargs line:
bootargs=tls!-g 192.168.0.1 ether /net/ether0 192.168.0.23 255.255.255.0
That’s all there is to it, but curiously for some reason I never actually tried it until this week.
Anyway, it works.